 ">
">
Getting it home
I'd been wanting a motorbike project to work on for a few years, so when I was offered this, I said 'yes please'. I had to get it home—only a few miles—but it definitely wasn't going to get there under its own power. Thankfully, a mate had use of a work van and ramp, so he was able to help me transport it.
 To make our lives easier, my uncle had loosened the brakes so the wheels would turn.
Seeing it roll gave the illusion that it wasn't going to be as big a job as I'd thought.
But, once home and on the drive, the feeling of 'what have I just got' struck me.
Everything was green, and something was leaking from around the fuel tank.
It wasn't fuel, though—that was drained when it was parked up—this was water.
To make our lives easier, my uncle had loosened the brakes so the wheels would turn.
Seeing it roll gave the illusion that it wasn't going to be as big a job as I'd thought.
But, once home and on the drive, the feeling of 'what have I just got' struck me.
Everything was green, and something was leaking from around the fuel tank.
It wasn't fuel, though—that was drained when it was parked up—this was water.
Although not a motorbike fan, my mate was still interested.
We decided to see if connecting a battery would show signs of life, but here was the first problem, the seat catch had failed.
The catch uses a plastic part against metal, and it had completely rounded off, stopping the seat from being freed.
To remove the side covers, you really need to remove the seat, but with no other way in, I was able to carefully pry off a side panel.
I can't remember which of us managed to pull the latch, but it was a struggle. Even with the panel removed, getting a hand or any tool to the catch lever was near impossible.
Attaching a battery had no effect. A quick check of some initial wiring showed many wires were somehow disconnected.
To make things worse, the gear shifter had 'welded' itself to the cover.
I now had a bike that had a tank full of water, a seized gear shifter, no working electronics, and a broken seat latch.
Getting Started
Its First Wash
 Feeling a little overwhelmed with how much work seemed necessary, a good start seemed to be giving it a wash.
It's amazing how much better a project seemed once the moss was gone.
Feeling a little overwhelmed with how much work seemed necessary, a good start seemed to be giving it a wash.
It's amazing how much better a project seemed once the moss was gone.
Actually Getting Started
The Seized Shifter
Getting the shifter free was a bigger job than I had envisioned. Where it slots through the sprocket cover, the two had become one.
I started with penetrating oil and prying the cover off—no luck. I tried adding heat—still no luck. In the end, a combination of oil, heat, prying the cover, and hammering the shaft finally got it starting to move.
It's not ideal to hammer on something that shouldn't move the way it's being hammered, but I couldn't think of (or find in any online forum) another way.
All the wiggling and hammering unfortunately damaged the oil seal into the gearbox, causing a stream of oil, so I had to drain it prematurely.
I can only assume this was also the cause of some slight damage I found once inside the gearbox cover.
Luckily, it wasn't anything that would cause issues, and I was able to just replace the seals and reinstall the cover.
I left the sprocket cover off for the time being, just in case I had to remove it again later on.
Electrics, Fuel Tank, Stands, Carbs, Headlight... Well, a lot of things at once
With the shifter out of the way, I reconnected some wires, and that was all it needed to show some signs of life.
A quick press of the starter button and it turned over a full revolution with ease—I didn't need to worry if the engine was seized anymore.
Next, I looked into draining the water out of the fuel tank.
My dad had a 25-litre drum that I was able to drain it into.
I removed the fuel line, but only a slow drizzle came out, it turns out the fuel tap was clogged, so my dad and I ended up syphoning it out instead.
Once it was drained as best as possible, I removed the fuel tap and washed the tank out.
The inside wasn't bad—a little tarnished, but usable without needing to add any sealant or protector.
I did have to hunt for a filter that had come off the tap inside the tank, which wasn't an easy task!
It turns out the water had got into the tank from moss pushing against the rubber seal around the filler port.
This was an easy fix: I disassembled the fuel cap, cleaned it, reassembled it, and it was good to go.
I also poked a wire through the drain port to ensure water couldn't pool around the filler cap again.
Finally, I gave the tank a bit of fresh paint underneath after removing the rust, as well as around the filler neck to tidy it up.


With the tank out of the way, I removed the airbox and the carburetors.
This was a somewhat tricky task, as the rubber intake and airbox boots had become hard and brittle with age.
I started by removing the float bowls. I hadn't expected to find so much sediment —it was like sand inside.
I gave them a thorough clean, checked that the floats still held their buoyancy, and ensured everything else inside was as clean as I could make it.
I then moved on to the throttle linkage, which was stuck shut. With some cleaning, oil, and a lot of wiggling, I eventually got everything moving nice and smoothly again.


With the nice weather, and while waiting for parts to arrive, I decided to tackle some cosmetic work. I painted the stands and the front wheel (since the tyres needed replacing anyway, I wasn't too worried about overspray), and I started working on the brakes. My dad gave me a hand, buffing the fuel tank, the rear shocks, and the chain guard.


Getting It Roadworthy
With the first of my orders having arrived, I set about changing the fork seals—only to realize I was missing the retaining clips, which meant yet more waiting.
Once those were sorted, I replaced the intake boots, changed the spark plugs, and refitted the carbs.
After troubleshooting a connection issue, I finally got the bike to run, though it required a jumpstart.
It turned out the new battery I had bought was faulty, it would drop below 9V under load, preventing a spark.
It took me a while to figure that out, but thankfully I was able to get it replaced once I realized the problem.
I was still having issues with the brakes feeling a bit sticky and hoped that riding it (on a private track) would free them up —which worked, to an extent.
It wasn't running perfectly, but it was at a point where I felt ready to get an MOT and enjoy some riding before the end of summer.
However, the insurance companies put a stop to that, wanting over £700 a year, despite my other, more valuable and slightly more powerful bike costing me around £300 a year.
This put a real dent in my motivation to complete the project, and over the next few months, I only tinkered with it and started considering selling it—especially after having to fix my other bike when a deer jumped into me.
Luckily, it was at a low speed, but it still cost over £100 in parts, not to mention the gear I had to replace.
Where is the project at now?
It took nearly five months —I initially thought it was only three, but looking at the dates on my photos, it really was five— for me to get back into the swing of things.
Since going back to it, I've rebuilt the front calipers, painted the frame, and had to clean the carburetors yet again.
With it still not running as it should, I now plan to check the valve clearances —something I probably should have done already- and then I'll look at finally getting it on the road.
Checking the valve clearances
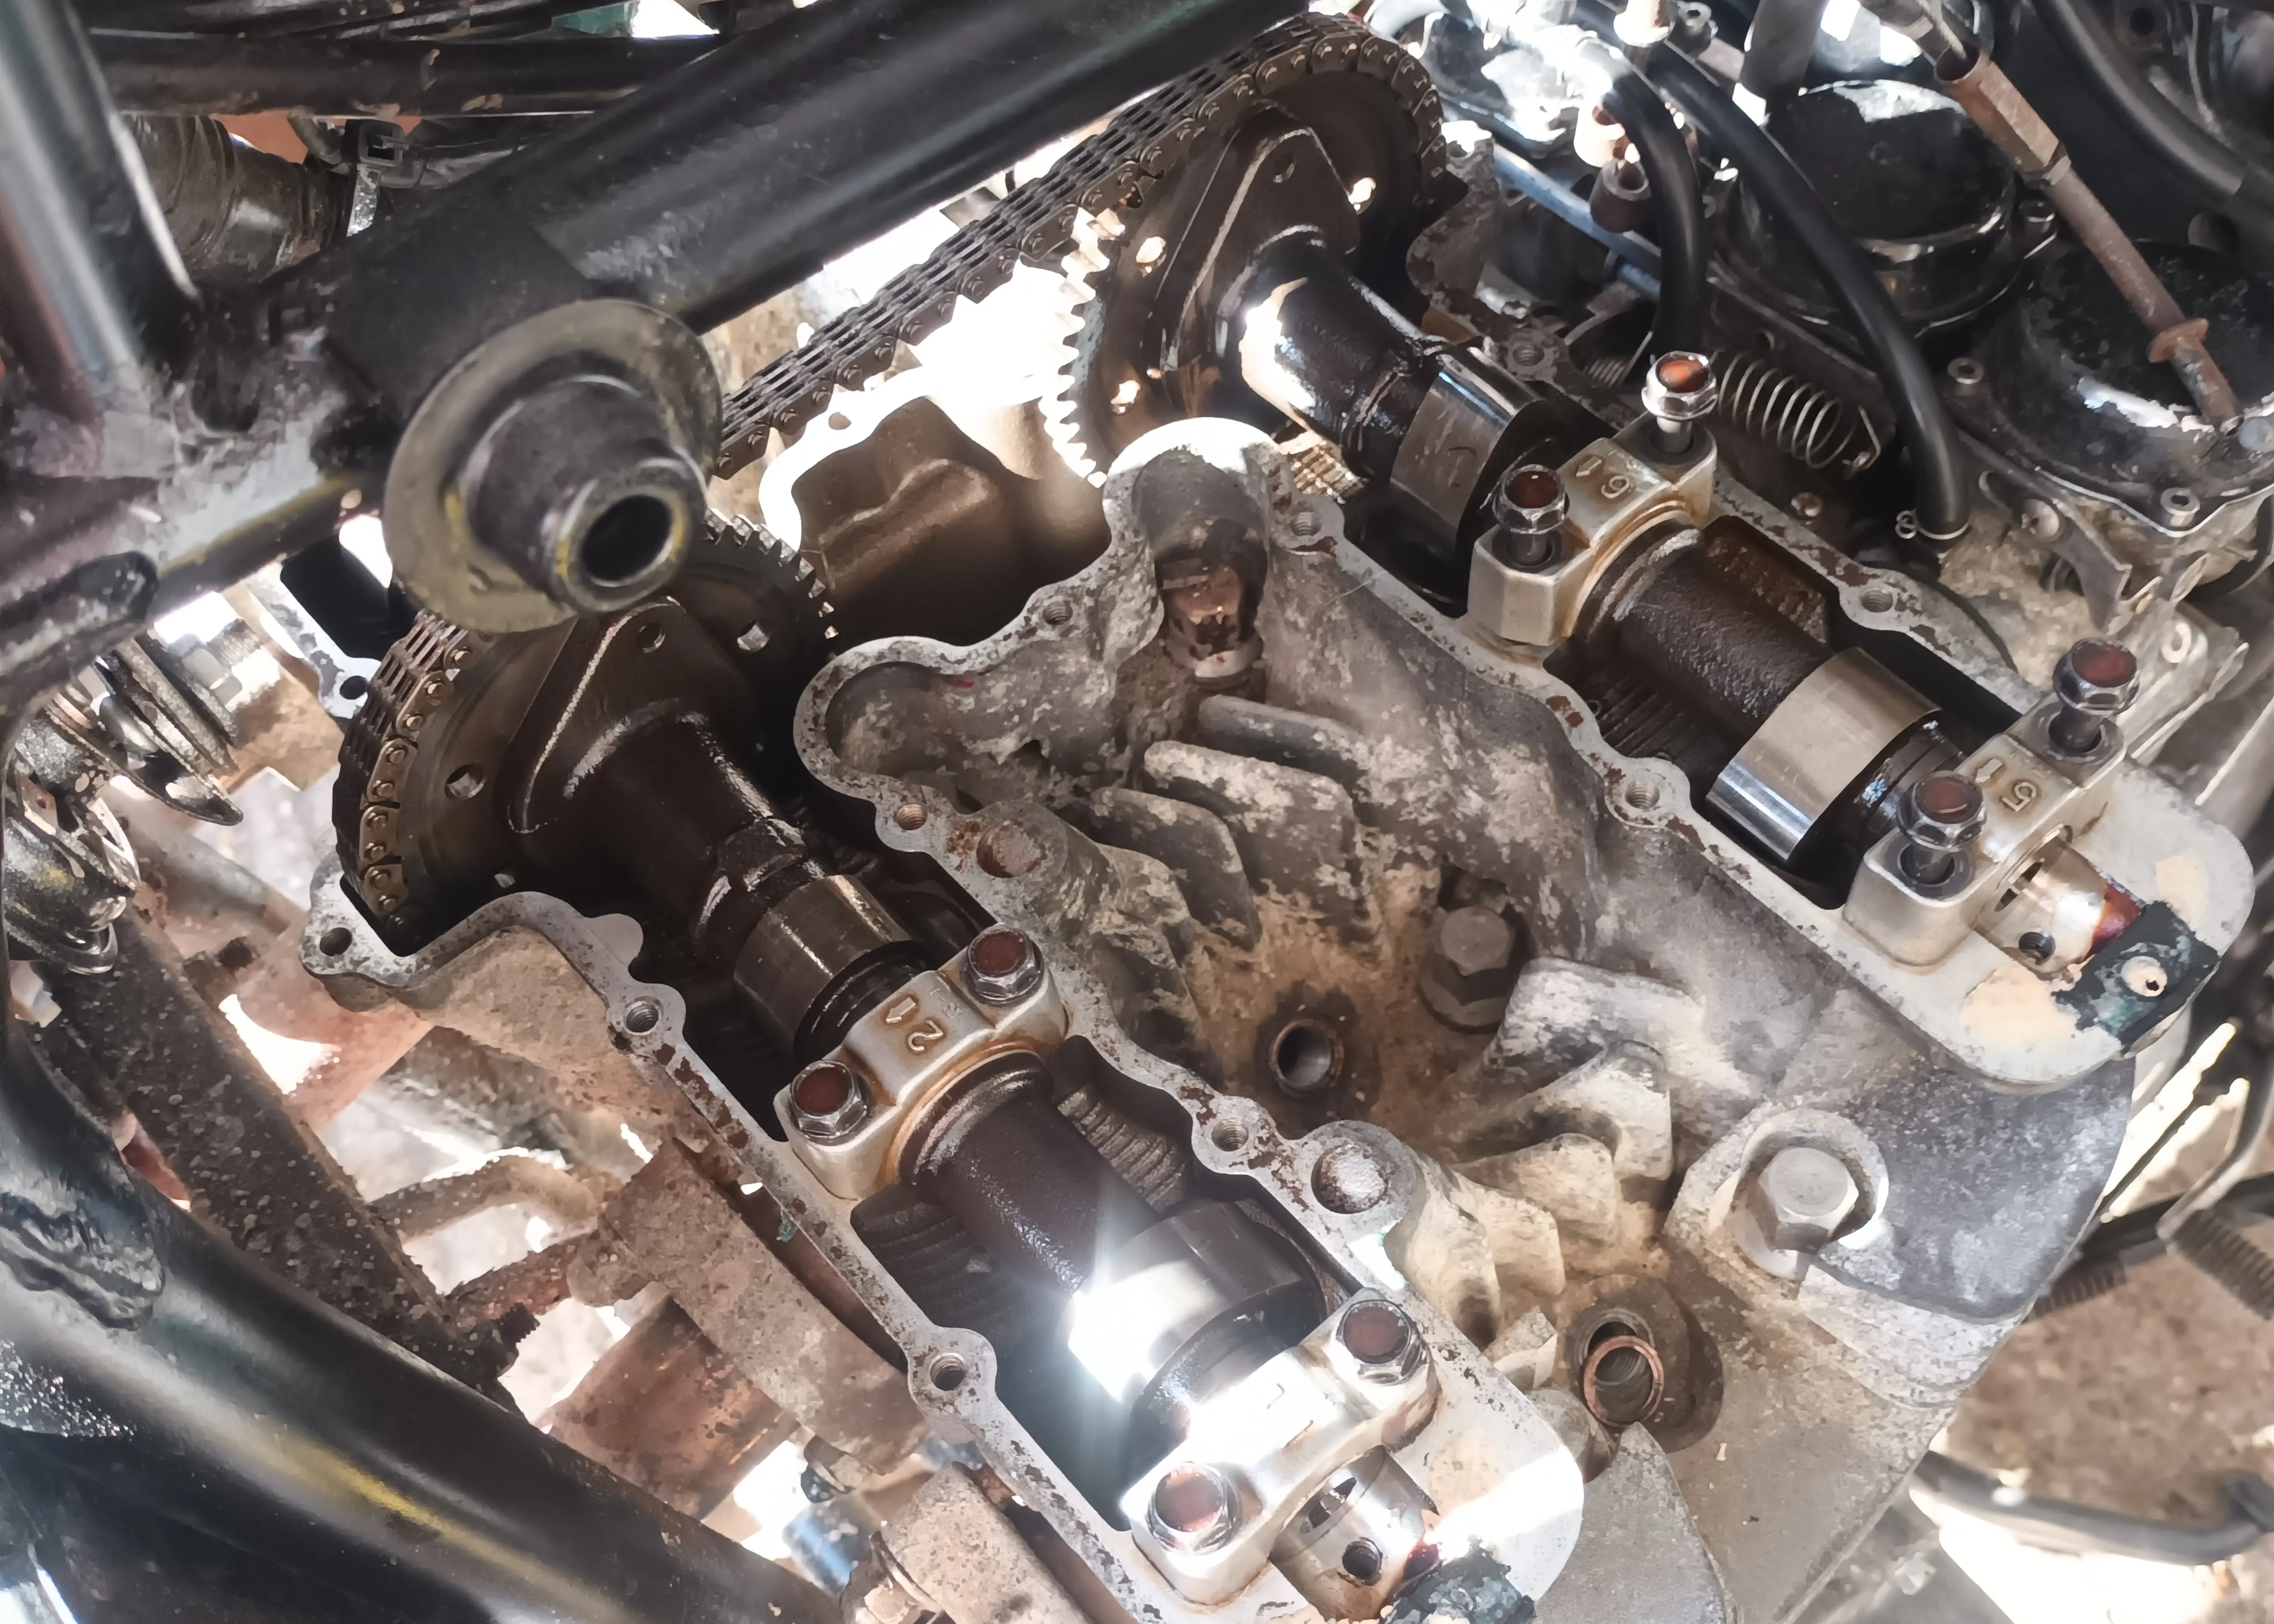 An easy job, except for the fact that only 2 valves had any clearance at all. This meant I had to swap around my existing shims and recheck, which turned into a lengthy process.
The routine consisted of undoing 8 bolts, removing the shims, switching them around wherever a smaller one was available, retightening the 8 bolts, checking the clearance, and repeating this over and over until a measurement for each valve could be found.
It was a lot of work, but much to my surprise, I was able to get 6 out of 8 valves within tolerance using just the existing shims.
An easy job, except for the fact that only 2 valves had any clearance at all. This meant I had to swap around my existing shims and recheck, which turned into a lengthy process.
The routine consisted of undoing 8 bolts, removing the shims, switching them around wherever a smaller one was available, retightening the 8 bolts, checking the clearance, and repeating this over and over until a measurement for each valve could be found.
It was a lot of work, but much to my surprise, I was able to get 6 out of 8 valves within tolerance using just the existing shims.
The next issue was trying to source new shims for the remaining valves. Modern bikes typically use smaller shims, around 7.48mm or 9.48mm, whereas this older engine uses 13mm shims.
I struggled to find these online for a reasonable price as there are only a few suppliers left, so I phoned around the local bike shops.
The first three didn't stock them, but thankfully I found a place that did in Verwood:
Road and Racing Performance ↗. They were very helpful and luckily had exactly what I needed at a good price.
Did it fix it?
With the valves now correctly set, I resynced the carburettors. Unfortunately, there wasn't a massive increase in vacuum, but the valves had to be done otherwise they would have caused serious damage if left as they were.
It is possible that the engine needs new piston rings, but that is a major job and the parts are rather pricey, so it is not going to happen right now.
A quick test ride did at least make me realise the bike now had power at lower RPM, though it still couldn't reach the full rev range.
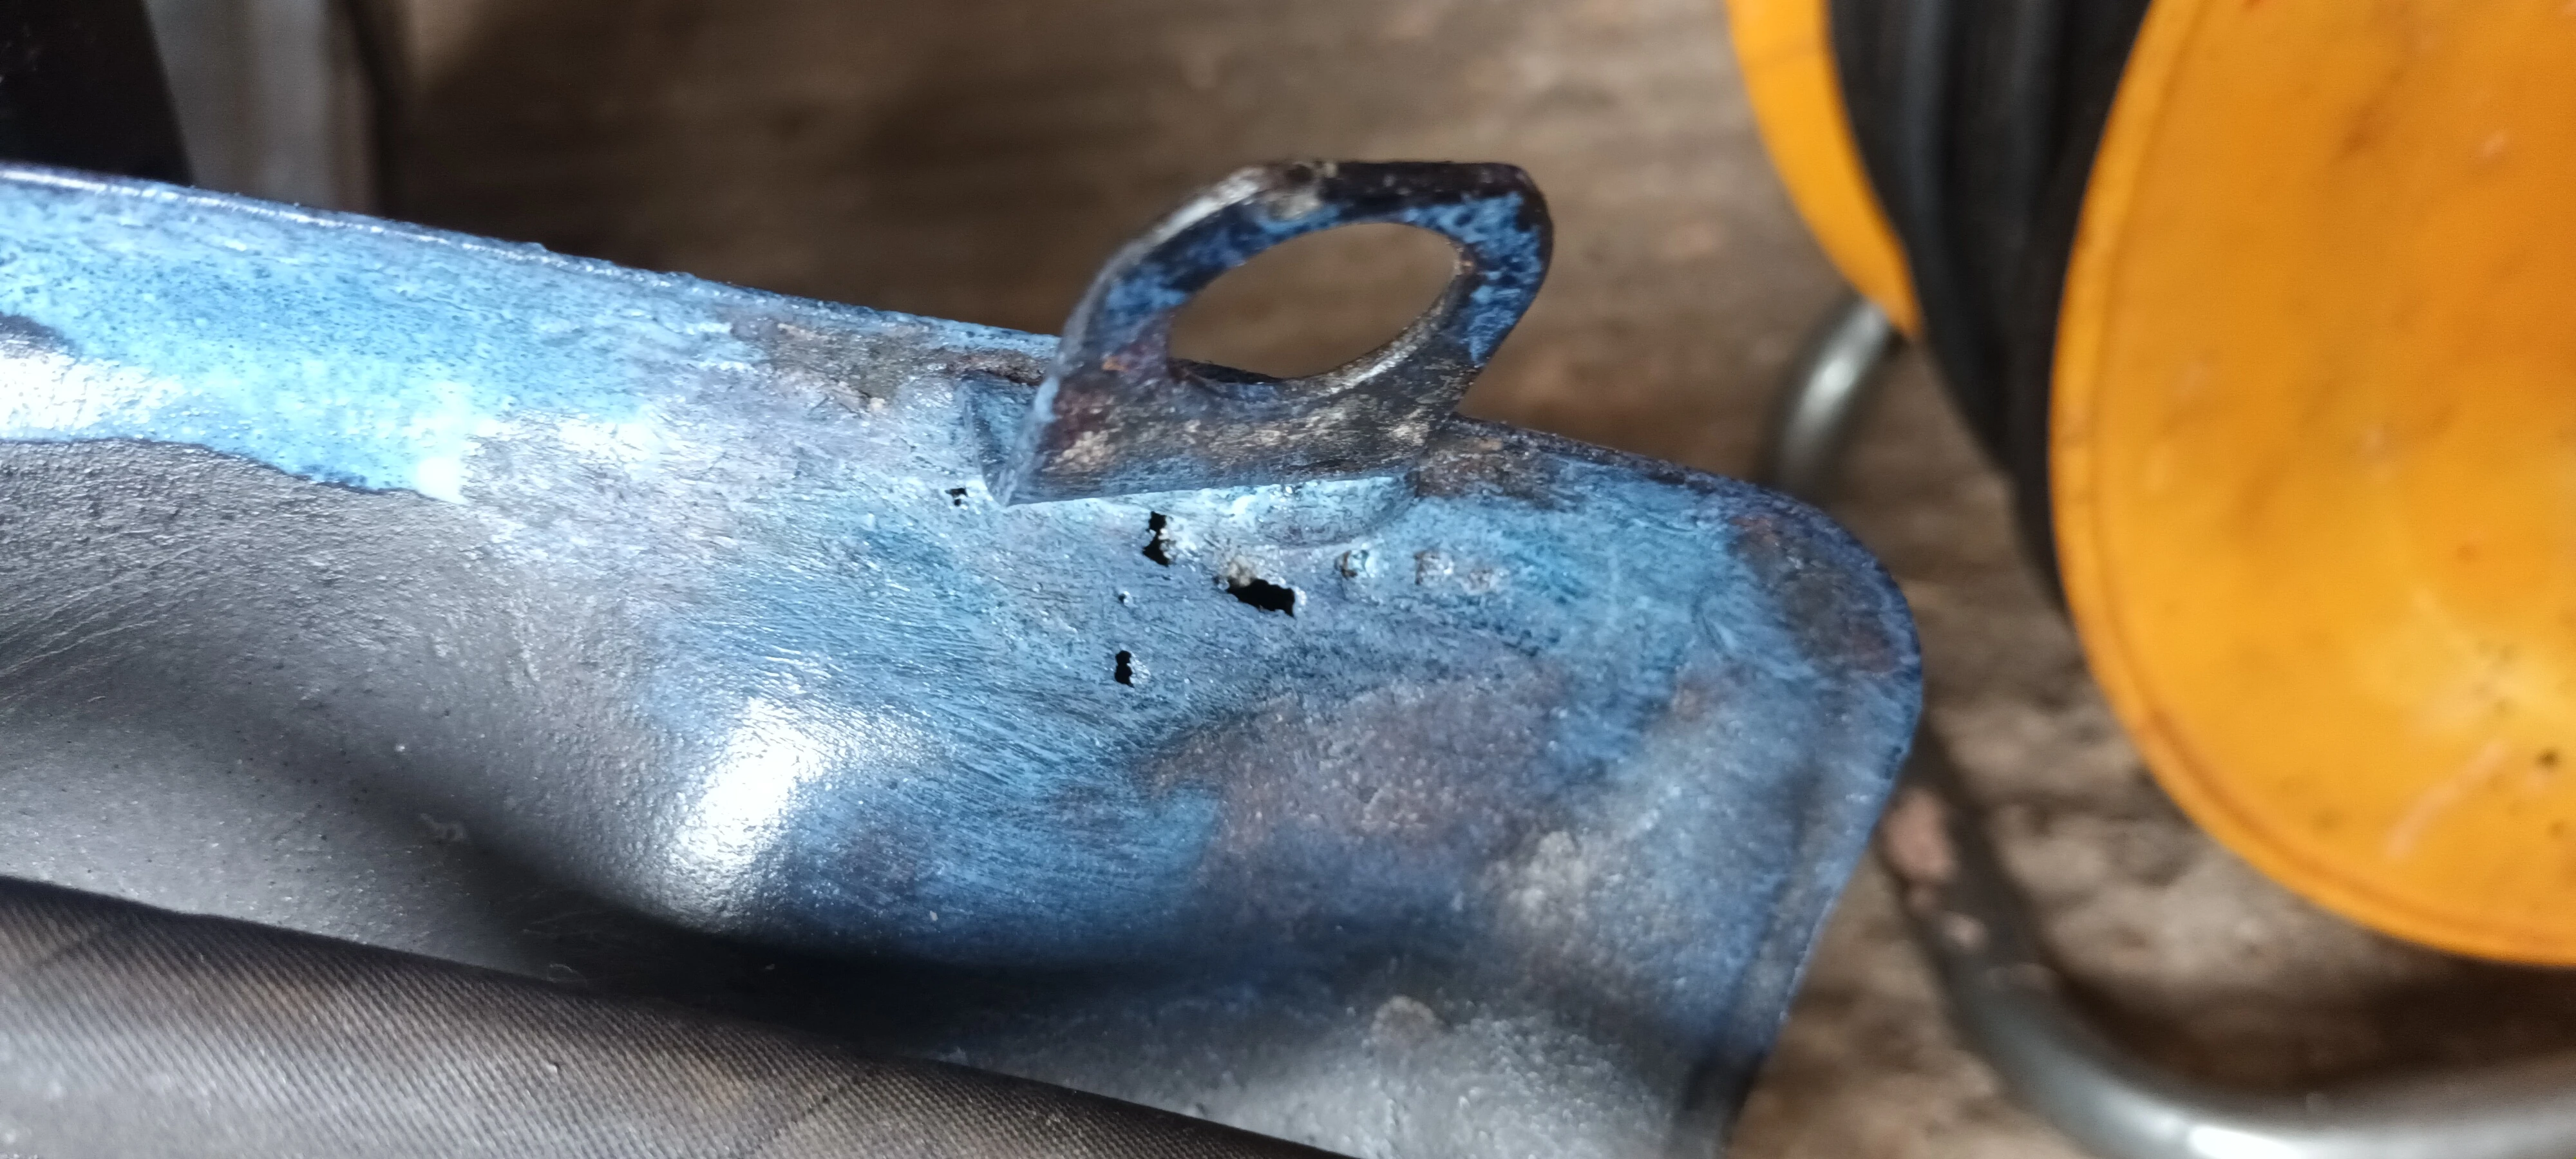
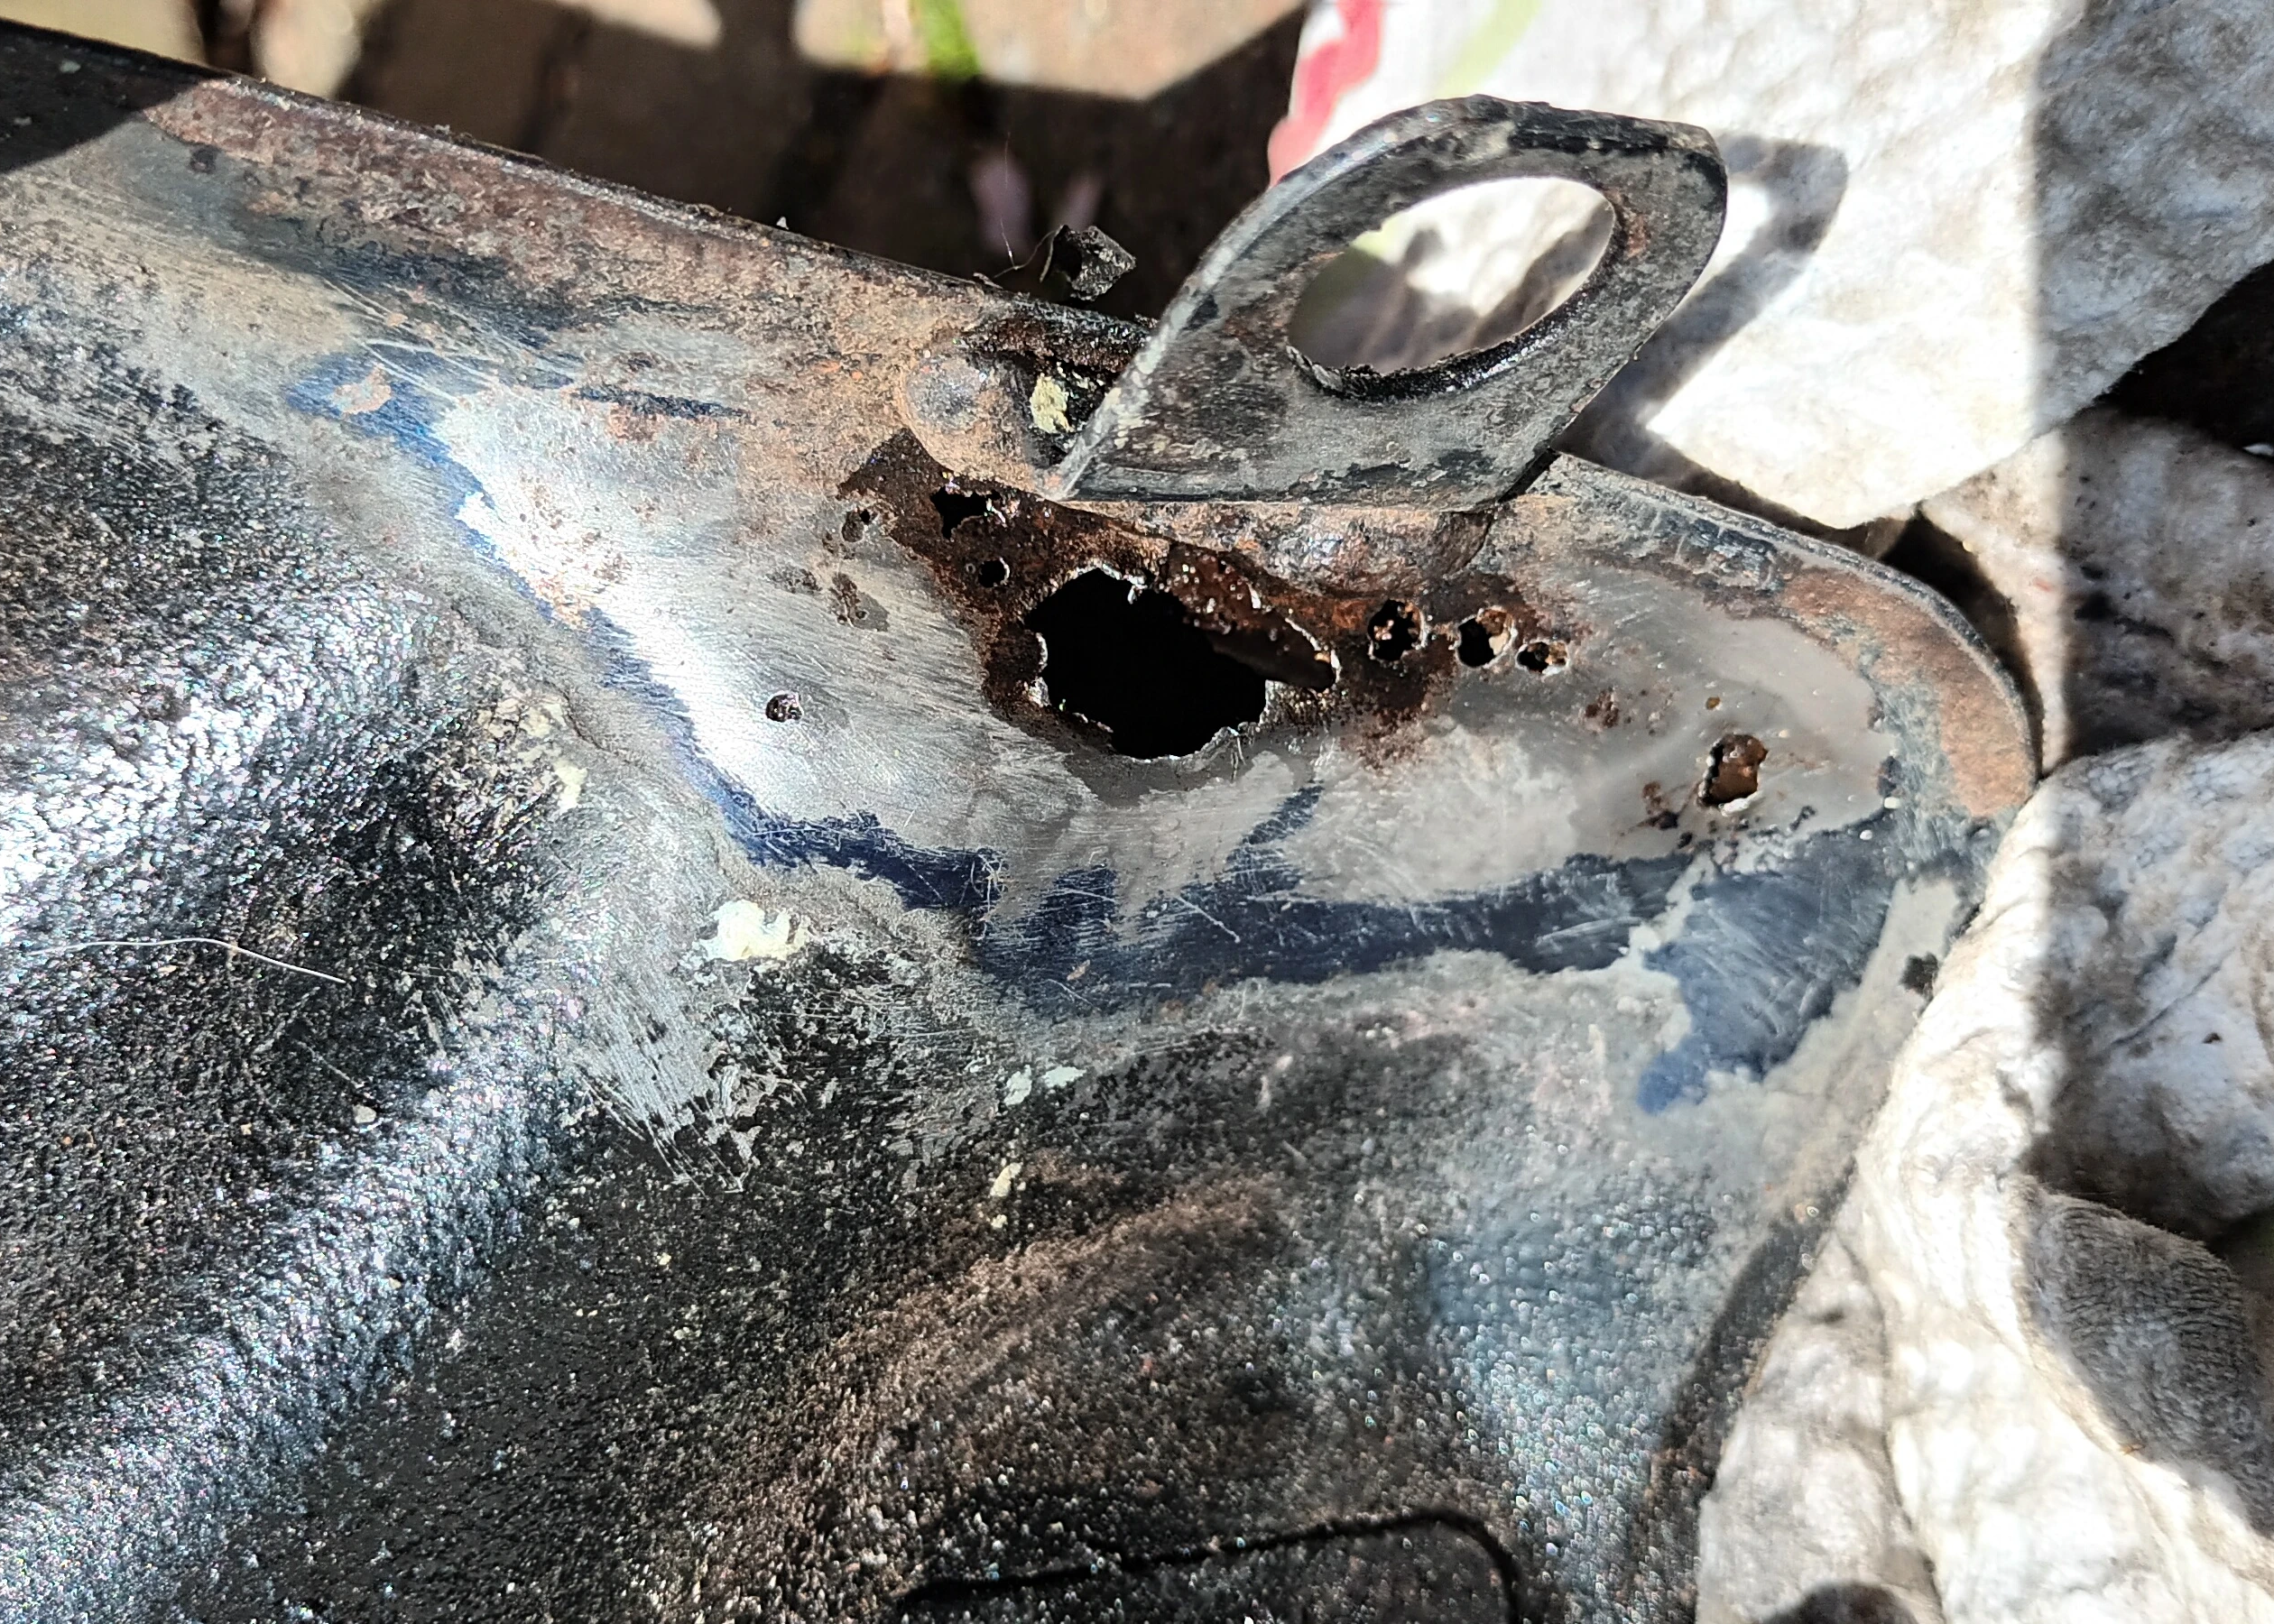
I needed to take the carburettors off again to see if I could set the fuel level any higher or if I needed larger jets. However, being an old vehicle, it of course developed a major issue when the fuel tank sprung a leak. It seemed small at first, so I removed the paint, used a rust converter, and patched it, but the leak came back three weeks later. This time it was a lot worse, and a simple patch would no longer suffice.
The cost of a tank liner kit was too much at the time, so again, the project went on hold.

Sealing the fuel tank
Two months later, I finally bought the kit. The instructions specified that the temperature needed to be in the mid-20s for the resin to cure properly, so I had to wait a week for the weather before I could set about it. Everything needed was included in the kit, including a flush to ensure no petrol was left, a rust remover concentrate, and the two-part resin. The process was straightforward to follow, but having to shake the tank for 20 minutes with the rust remover diluted to 6 litres (plus a few loose bolts dropped inside as recommended) was quite the workout. I hope it was worth it. A week later the resin had cured, and I finally put fuel back in the tank. It seems fine so far, but time will tell.
Mirrors
I must admit I didn't really like the original mirrors, but I had no initial intention of changing them. They, however, had no intention of working. I needed to adjust one, so I started to carefully turn it. It appeared to unseize at first, but then it snapped straight off in my hand. New mirrors are now on order, and it is back to waiting again.


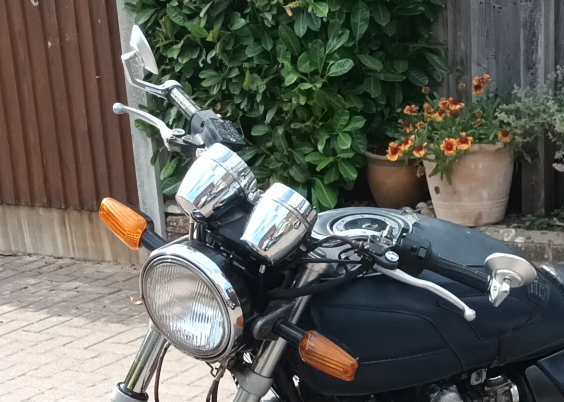 They arrived just a week after ordering. Changing them was a bit more difficult than anticipated, as the bar ends had threadlock on them and the bolt heads were soft, making it a struggle to turn them without stripping the heads.
After some time, I got them out and fitted the new ones. I'll be honest, I chose the cheapest all-metal mirrors I could find (a whole £13). Decent ones can be fitted later on when it's on the road, and they may need to be — you can only just about see out of these.
What's next?
Well, I fixed the seat lock so it stays down now, and after a short test ride, it started to run nicely. It still needs the carbs tuning properly, but next up will be an MOT. Hopefully, I will be able to ride it this year and decide what I want to do with it. The idea has always been to make it a bit of a scrambler, but that will depend on what it's like to use as is.
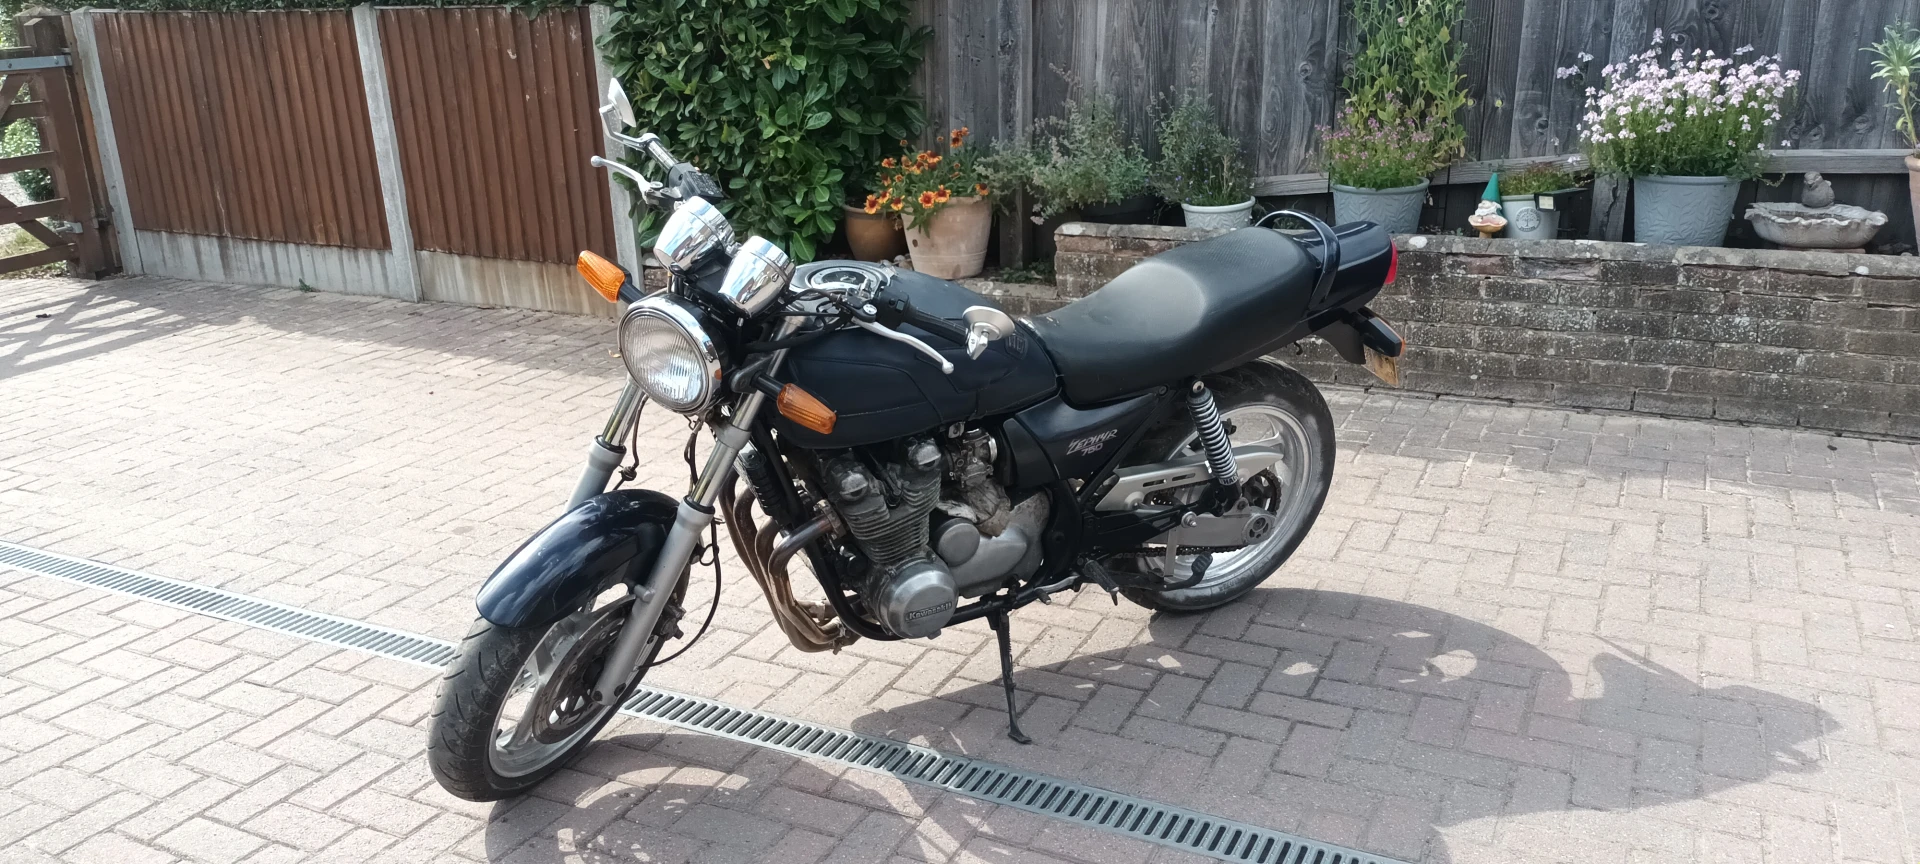
MOT Time
16th July 2026 - first MOT since 25th June 2008.
Well, it passed and is now on the road with only a few advisories. Both tyres are worn close to the legal limit, and the front shock absorbers have a light misting of oil.
The mechanic also recommended I replace the cam chain tensioner, as he reckons it's causing some of the engine noise I have, along with a possible valve that may be too loose. Yes, I did redo them, so perhaps I missed a mistake I've made when checking them.
Other than that, on the way home from the MOT, it developed an oil leak from the base gasket. The last thing I want is to be removing the engine to fix this right after I've got it back on the road, so I'll have to see if I can temporarily fix it so I can enjoy the bike before summer is over.
The new tensioner was wrong, my number plate fell off, and so much more!
Well, something always seems to go wrong just as I think it's finally ready for the road.

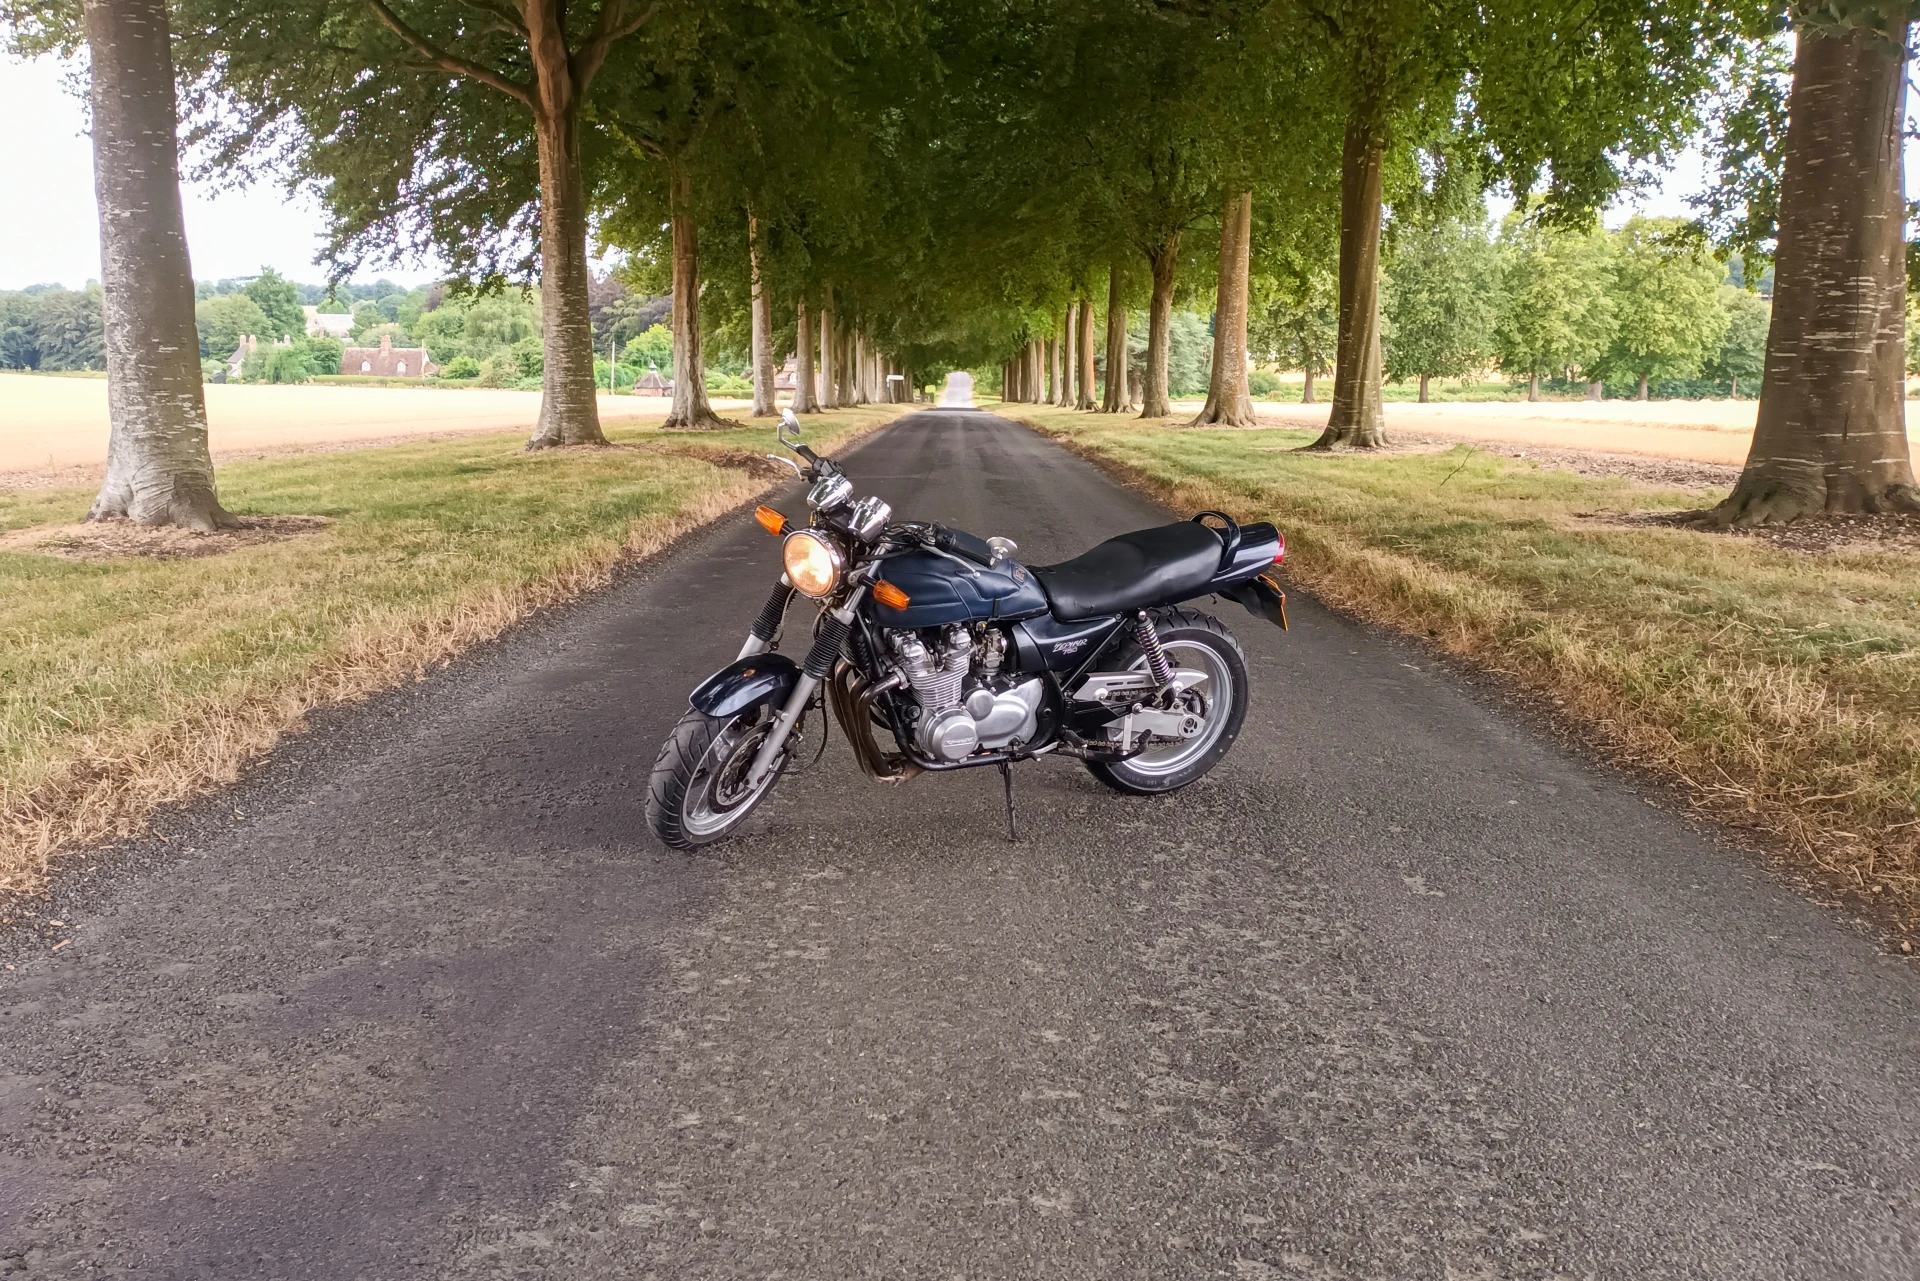
 Let's start with the fork leak. The day after the MOT I rode over to Halfords (about 20 miles in total) to buy some gasket sealant as a 'temporary' fix for the base gasket oil leak. I took the back roads and stopped at a viewpoint for a quick photo, but by the time I got home I was covered in fork oil. Riding it had made the forks much worse, so that was it, the bike was back off the road.
Luckily I found some brand new TNK fork stanchions for half price. They were still £80 each, but it seemed worth rebuilding the forks properly, so I also bought new bushes, seals and oil. While chatting to a couple of bikers at my local pub (unfortunately I'm no good at remembering names), one recommended fitting fork gaiters, while another even offered to help rebuild them. I wish I had taken him up on it.
Tyres and number plate
Getting the tyres changed should have been easy. Unfortunately I'd forgotten my front paddock stand had broken, so I ended up balancing the bike on a hydraulic bike stand and blocks of wood to clear the exhaust. It worked until my dad pointed out later that evening that the stand had slowly lowered itself onto the backup jack. A bit of improvisation got everything supported well enough to last the night.
The following day I had the tyres fitted and took the bike for a slow test ride (despite not having fixed my forks yet). Although I can't be certain, this must have been when the number plate fell off. I spent hours searching for it on my other bike but never found it, so that became yet another unexpected purchase. At least the temporary fix for the base gasket was holding.
The tensioner
The replacement cam chain tensioner turned out to be another disappointment. eBay's compatibility checker said it would fit, but it was actually for the later reissued models rather than the original 1990s bikes. Luckily I could return it for a full refund, so the original one stayed on for now. While removing it I noticed the missing number plate and yet another small oil leak from the gear change cover. It's only a few drops overnight, so that's a problem for another day.
Rebuilding the forks
 Rebuilding the forks turned into another challenge. On the first fork the damper bolt was a struggle to remove, and I couldn't work out how to get the new bushes and seals seated (I've no idea how I managed it last time), so I ordered a fork seal driver. Unfortunately, despite being sold for 40-41mm forks, it didn't fit. After a bit of improvisation (and a few cut hands) I managed to make it work, then promptly sent it back. If I ever have to do the job again, I'll buy a decent one.
Hopefully that's it.
This project has cost more than I'd expected, and I'd be lying if I said it's all been enjoyable. The problems seemed never-ending and there were plenty of times I considered selling it. Thankfully I stuck with it because I've learnt a lot along the way, and now it's finally at the point where I can enjoy riding it.
There's still a few little jobs and cosmetic improvements I'd like to make, including replacing the dash with something sturdier that has a proper rev counter and trip meter (I removed the original trip while fixing the speedo and don't think I ever mentioned it). I'd definitely like another restoration project in the future, but for now I'd rather spend some time enjoying this one.
What I've ordered for this project
- Battery: £45.49
- Cam Chain Tensioner: £0.00 (Refunded £44.98)
- Carb Intake Boots: £14.95
- Carb Kit: £26.95 (£29.95 minus £3.00 Part Refund)
- Compression Tester: £7.89
- Final Drive Seal: £4.95
- Fork Oil: £8.82
- Fork Rebuild Kit: £55.00
- Fork Retaining Clips: £6.90
- Fork Seals: £9.95
- Fork Tubes: £185.50
- Fuel Tank Liner: £74.98
- Fuel Tap Kit: £14.89
- Fuses: £2.30
- Gasket Set: £46.52
- Headlamp: £11.00 (Not Used)
- Heat Shrink: £2.31
- Horn: £0.30
- HT Lead: £8.42
- Indicator Relay: £0.92 (Not Used)
- Indicators: £13.78
- Mirrors: £17.40
- Numberplate: £11.99
- Oil: £27.00
- Shift Seal: £5.95
- Spark Plug Caps: £20.00
- Spark Plugs: £10.52
- Speedo Cable: £8.32
- Tyres: £186.03
- Valve Shims: £10.00
- Total Cost (All Items): £839.03
- Total Cost (Excluding Not Used): £827.11
On The Road Photo Gallery
